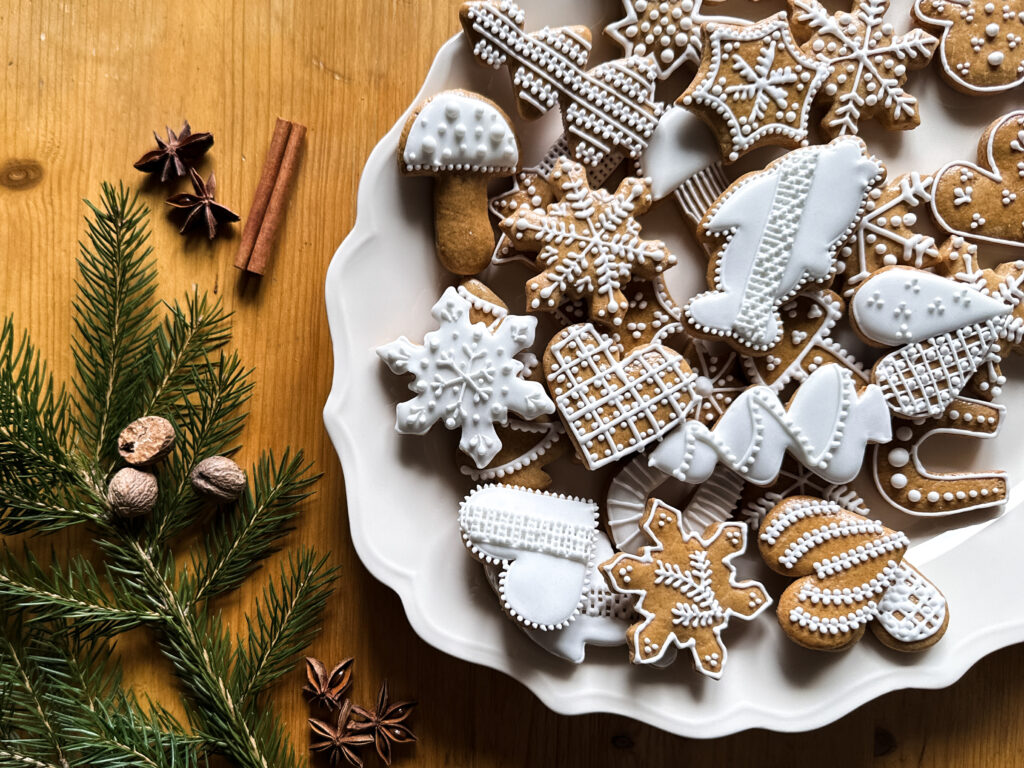
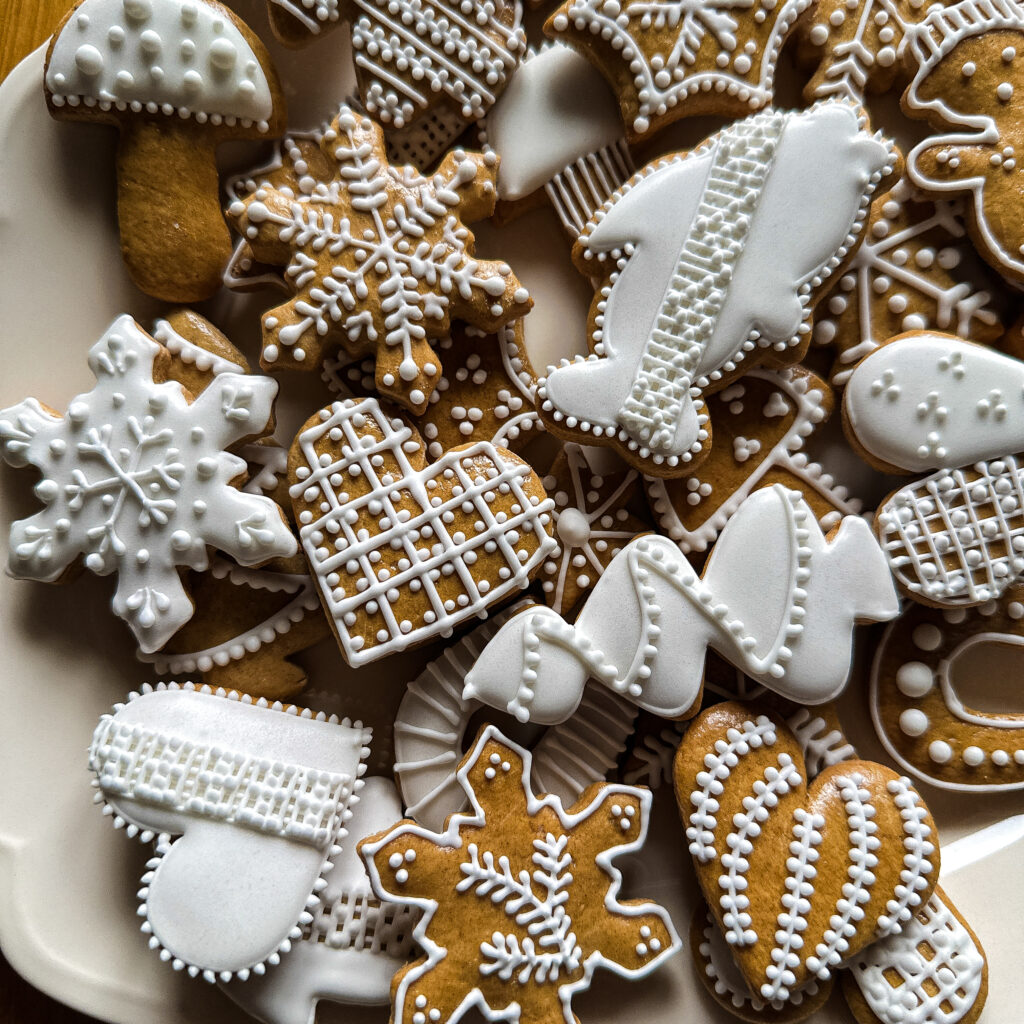
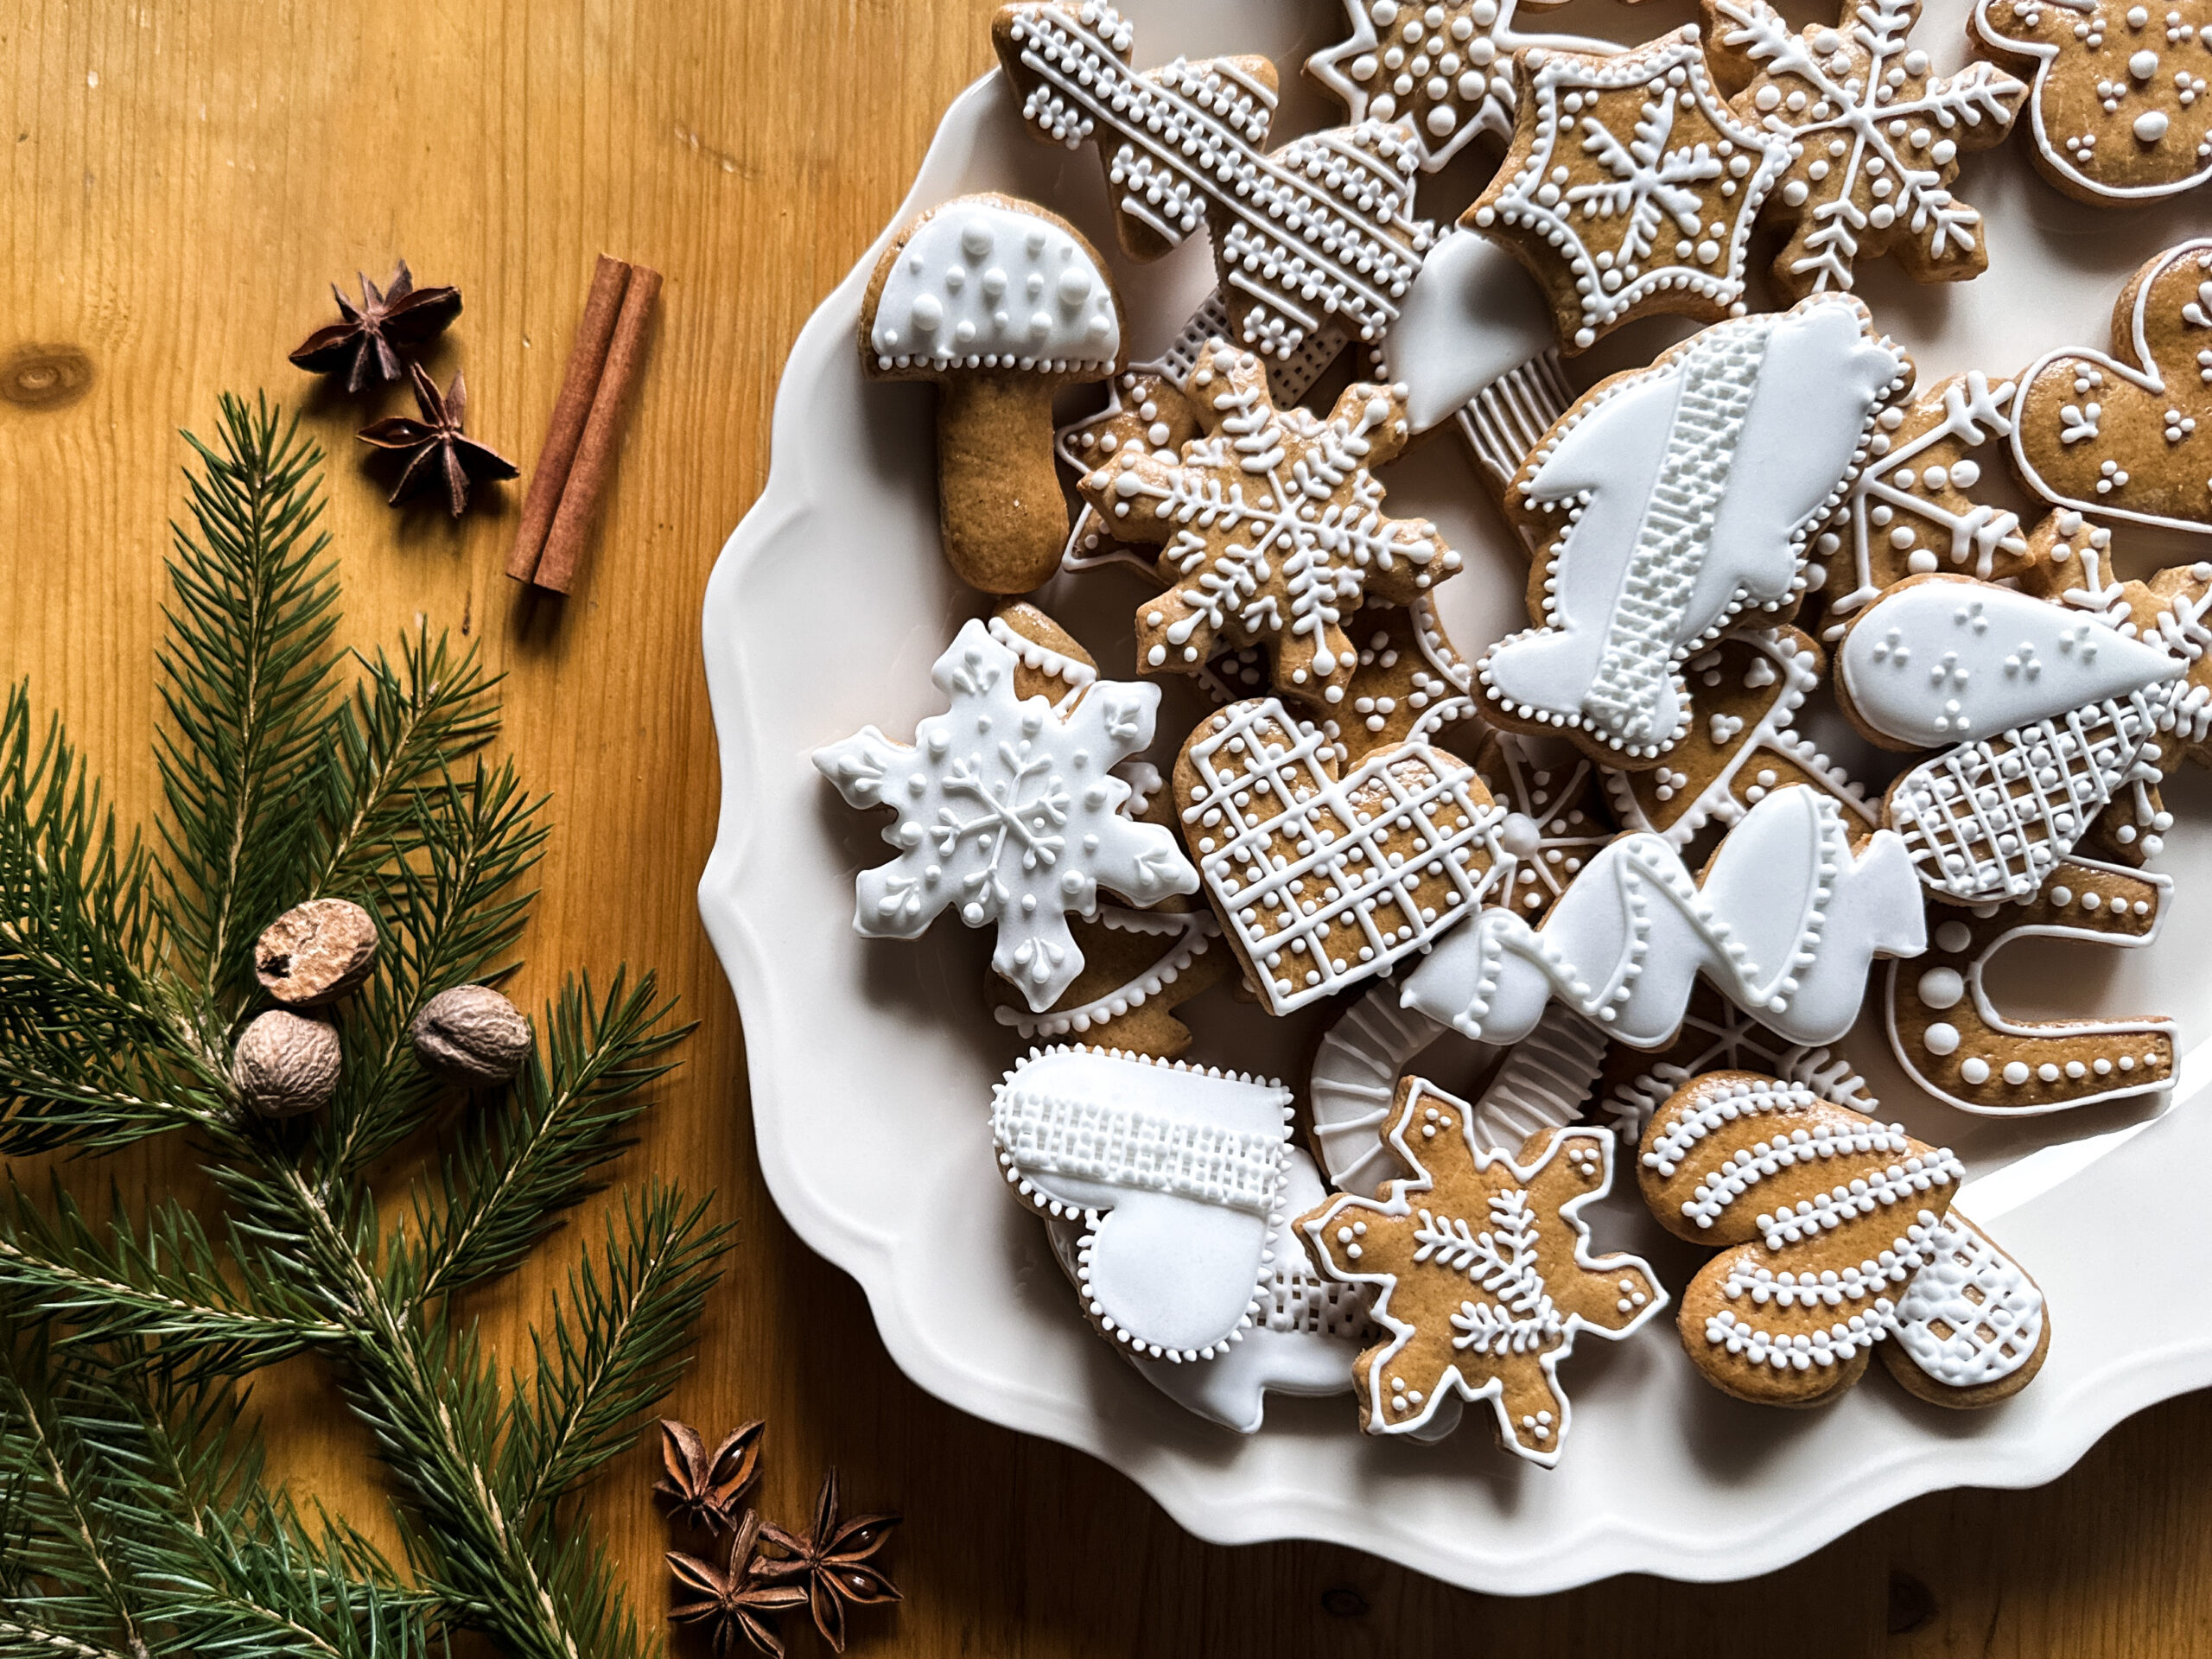
A few weeks before Christmas I start making these cookies and as soon as I add that spice mix to the dough I know Christmas is just around the corner. These are so much more than just cookies for me. I love collecting all the different cookie cutters and every year I try to get better at decorating these. I remember the fun we had as kids with the icing and I can’t wait for my kids to be old enough to do this with me.

Why add sourdough to the cookies
Adding sourdough to these cookies is completely optional. You don’t need the dough to rise so the reason to add the starter is purely for its health benefits and the taste. Since I am doing this mainly for the health benefits I always make sure to let the dough ferment for a couple of days in the fridge so that the yeast cultures have enough time to do their magic. Also this makes it very convenient because I am not tied to a specific day/time when I need to make the cookies. I can let the dough rest in the fridge for 3, 4, 5 days until I know I have the time to get the next step done. You can use either active starter or discard since again we don’t need the rising power of the starter.
If you would like to skip adding the starter you don’t need to replace it with anything else. But be aware that the final amount of flour you will need may be different from mine since the starter is adding a bit more “stickiness” to the dough and so I need to add more flour to make it non-stick.
Important things to know about the dough
Dough color
When it comes to the color of the dough there are two things that will have an impact on how light or dark your cookies will turn out. The first one is honey. The darker the honey you are using the darker shade of brown the dough will be. Alternatively you could replace the honey with molasses which comes in an even darker color than honey (at least I believe so, we don’t really use molasses here in the Czech Republic so I am not very familiar with it). Of course the different kinds of honey and molasses also have different amounts of sugar in them so your cookies may end up tasting more or less sweet but there shouldn’t be a significant difference.
The second ingredient changing the color of your cookies is flour. Not that you would have differently colored flour of course 🙂 This is about the amount of flour that you will use. The more flour you add to the dough the lighter the color it will be. Even though I am indicating the amount of flour you should use in the recipe you may end up using a bit more or less depending on the stickiness of your dough. And if you add any aditional flour in the other steps (more on that later) that will make the dough even lighter. This can also alter the taste of the cookies. If you add too much flour the cookies will be more dry and “floury”.
Spice mix
The spice mix is what makes these cookies so special to me. There are lots of different spice combinations that you can use but the main ingredient should always be cinnamon. Here are the others in my spice mix: coriander, star anise, anise seed, cloves, nutmeg, allspice, fennyl. You may have noticed that there is no ginger here and that would be correct. In the Czech Republic we call these cookies “perníčky” and that name has nothing to do with ginger and you won’t find it in this spice mix either. But in the end they will end up tasting similar to what you are used to. If you want to re-create this spice mix you should use 1 tablespoon of cinnamon and then 1/4 teaspoon of all other spices powdered.
Making cookies
There are a few tips and things to be aware of when making the cookies. Your dough has been in the fridge for some time know and it will need time on the counter to soften up so that you can roll it out. If you cut the big piece of dough into a couple smaller ones this process will be faster and it will also be easier to work with the smaller flat surface. Before you start rolling out the dough you should first work it on the counter for a bit as this will help get out any bubbles in the dough and your cookies will be nice and smooth once baked. You will need to add a little bit of flour for this step but be careful as the flour is going to make the dough lighter in color and if you add too much it will also change the taste of the cookies.
Now you can start rolling out the dough. The desired thickness of the dough will depend on the size of your cookie cutters – the bigger the cutter the thicker the dough needs to be. You should also make sure it’s the same thickness across all of the shapes of the same size so that it bakes evenly.


Icing tips and techniques
Decorating the cookies is why I love to make these. It’s a great creative outlet for me and the best part is that we eat all of it soon after so I don’t have to find a space to store my creations 🙂 It can be as simple as drawing a few lines on each cookie, something even a toddler can do. If you want to do that you probably won’t need any of the information below. But if you are like me and you want to make more delicate patterns you need to be better prepared. One thing is your own creative talent but if your icing is too runny or you have the wrong tools to work with then even the best talent won’t be of much use.
Icing mixture
The few ingredients you will find in the icing recipe make it sound easy but it is quite a challenge to find the right consistency of the icing to make the perfect lines and dots. Even though I am giving you an amount of sugar and citric acid you will have to use your own judgement to see how much you need to add. This is because every egg is different in size and also age which makes the egg white more or less thick. That means the amount of sugar and citric acid will vary every time you are making this icing.
Before you add the sugar make sure that it is in a very smooth powder form. If there are any crystals or lumps of sugar they may not whisk properly and will then clog the point of your piping bag. You may need to use a sieve to get rid of those.
There are two consistencies I use for decorating my cookies. A thicker one for all the delicate lines and dots and a runnier one for the white surfaces (I believe this technique is called flooding). When I make the thicker one in the bowl I lift the whisk to see if the icing slowly runs down and forms little lines. They should stay clearly visible for a few seconds and then slowly start melting into the rest of the icing. For the thinner one I will add a bit more of the citric acid so that the lines are no longer forming.
Icing application
When it comes to the tools for applying the icing there are quite a few options to choose from. Many of them can work well so you may want to experience with a few. I found the best one for me for the delicate patterns is a plastic piping bag which comes with a tiny nozzle (only a milimeter or two in diameter) already inserted in the tip. It’s easy to use especially for beginners but even for my cookies which I would say are beyond the beginner level this works great.
For decorating the big surfaces I use a small plastic spoon. I do a bigger drop of the icing onto the cookie and then use the back of the spoon to little by little spread the icing over the entire surface. It’s important to not scratch the cookie so the spoon shouldn’t be touching it only the icing. You should wait a couple of hours, ideally a day, before you start applying any more icing on top of the now white surface.
Once you fill up the bag make sure to cover the bowl with the rest of your icing with a wet towel. This is to prevent a crust from forming on top of the icing which would make it much more difficult to use the icing for your next batch.
Now you are ready to dive in!

Sourdough gingerbread cookies
Ingredients
Dough
- 200 g brown sugar
- 75 g honey
- 110 g softened butter
- 1 egg
- 140 g sourdough starter
- 520 g all purpose flour
- 1 tsp salt
- 1.5 tsp baking soda
- 2 tbsp spice mixture
Icing
- 1 egg white
- 160 g powdered sugar
- ½ tsp citric acid
Instructions
- In a larger bowl combine the brown sugar, honey and softened butter
- Add the egg and the sourdough starter. You can always leave out the sourdough starter from this recipe but note that you may have to adjust the amount of flour to achieve the same dough consistency.
- In a smaller bowl combine about 2/3 of the flour and all of the salt, baking soda and spice mixture (I mention the specific spice combination I use in the corresponding section of the article above).
- Combine the wet ingredients and the flour mix. Once you have everything mostly mixed in the bowl transfer everything to your counter and start adding the rest of the flour. Keep working the dough until it is smooth and no longer sticks to the counter.
- Wrap the dough in plastic wrap and store in the fridge for at least 24 hours. If you've added the sourdough starter then you can leave it in the fridge for a couple of days for a longer fermentation process.
- Once ready to bake take your dough out of the fridge and leave on the counter for 30 mins to soften.
- Roll out the dough on a lightly floured surface and cut out your desired cookie shapes.
- Bake in the oven at 180 °C for 8 mins. Note that the timing might change depending on how thick your dough is. Keep a close eye on the cookies and take them out once they have browned.
- Brush the cookies with an egg wash immediately after getting them out of the oven for a nice glossy finish.
Icing
- In a bowl whisk together the egg white, powdered sugar and citric acid. Read the corresponding section of the article to find out more about the right consistency of the mixture.
- Add a few tablespoons of the icing into your piping bag and have fun with the decorating!